How to Transfer Files from Dropbox Business to Amazon S3
If your organization stored a large number of files in a Dropbox Business environment that needs to be migrated to Amazon S3, you can use the CloudFuze platform to automate the migration and speed it up. Without using CloudFuze, companies may need to spend weeks, if not, months for the manual migration to get completed. Continue reading to know more about how CloudFuze can automate Dropbox to Amazon S3 migration.
Step 1: Create a CloudFuze Account
Go to webapp.cloudfuze.com and create a CloudFuze account. You can sign up for a limited 30-day free trial. However, for the actual migration, you need to sign up for a plan or reach out to our support team for a quotation.

Step 2: Add Dropbox Business Cloud
The next step is adding your Dropbox Business account to CloudFuze. Click on the Dropbox logo listed under the business clouds section. When prompted, enter your Dropbox admin login credentials.

Step 3: Add and Authorize Amazon S3
Now, add Amazon S3 the same way we added Dropbox. Click on the S3 logo under business clouds. Enter your Amazon S3 account access information and click on the Add button.

Step 4: Verify Whether Clouds Are Added
Click on the Clouds icon in the menu and then click again on the Manage Clouds tab. You should be able to see both clouds being added there.

Step 5: Start the Migration
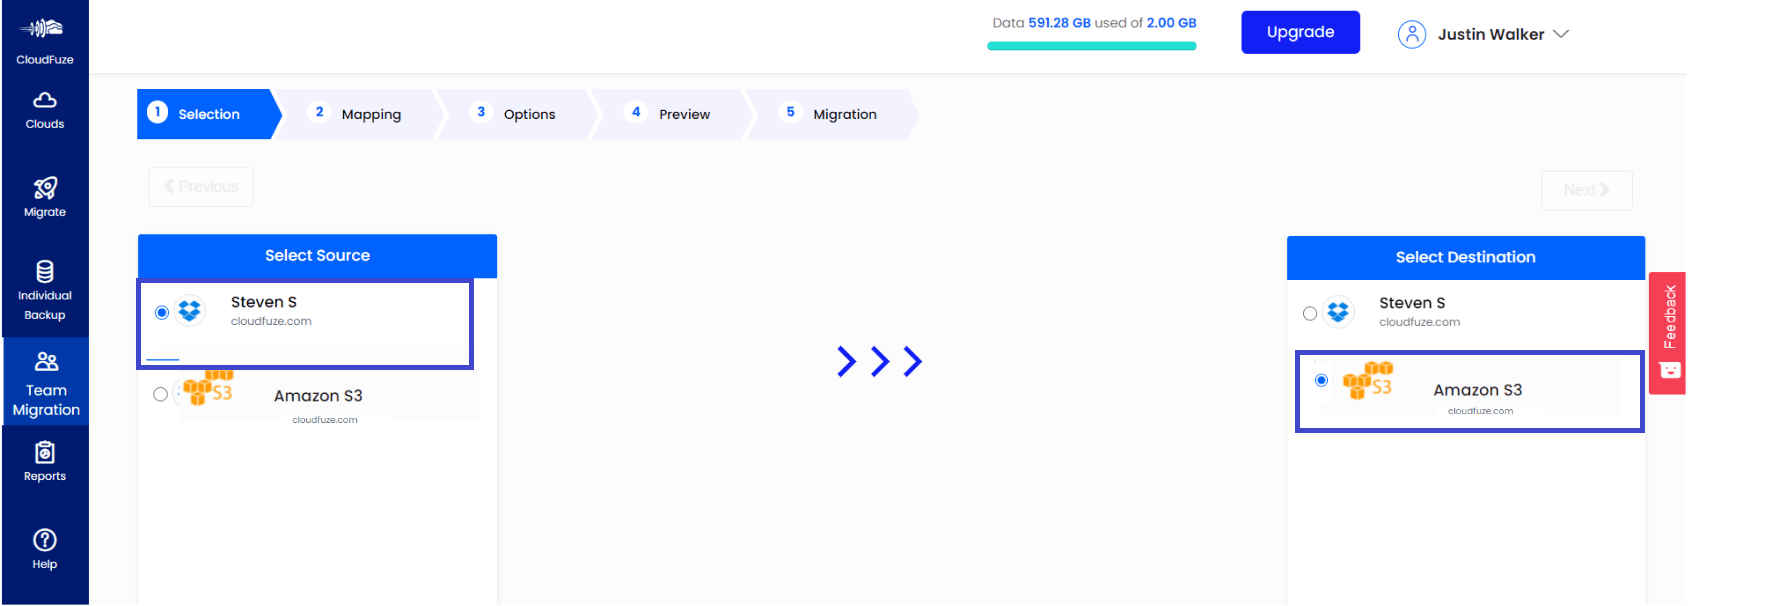
To start the migration, click on the Team Migration button in the menu.

Step 6: Select Source and Destination Clouds
Select Dropbox as a source and AmazonS3 as a destination account.

Step 7: Click on Automap
Automap matches users automatically and maps them in the source and destination accounts to prepare them for migration.

Step 8: Select Users to Be Migrated
You can migrate all users, one user, or a few selected users based on your migration needs. Once users are selected, click on the Next button.

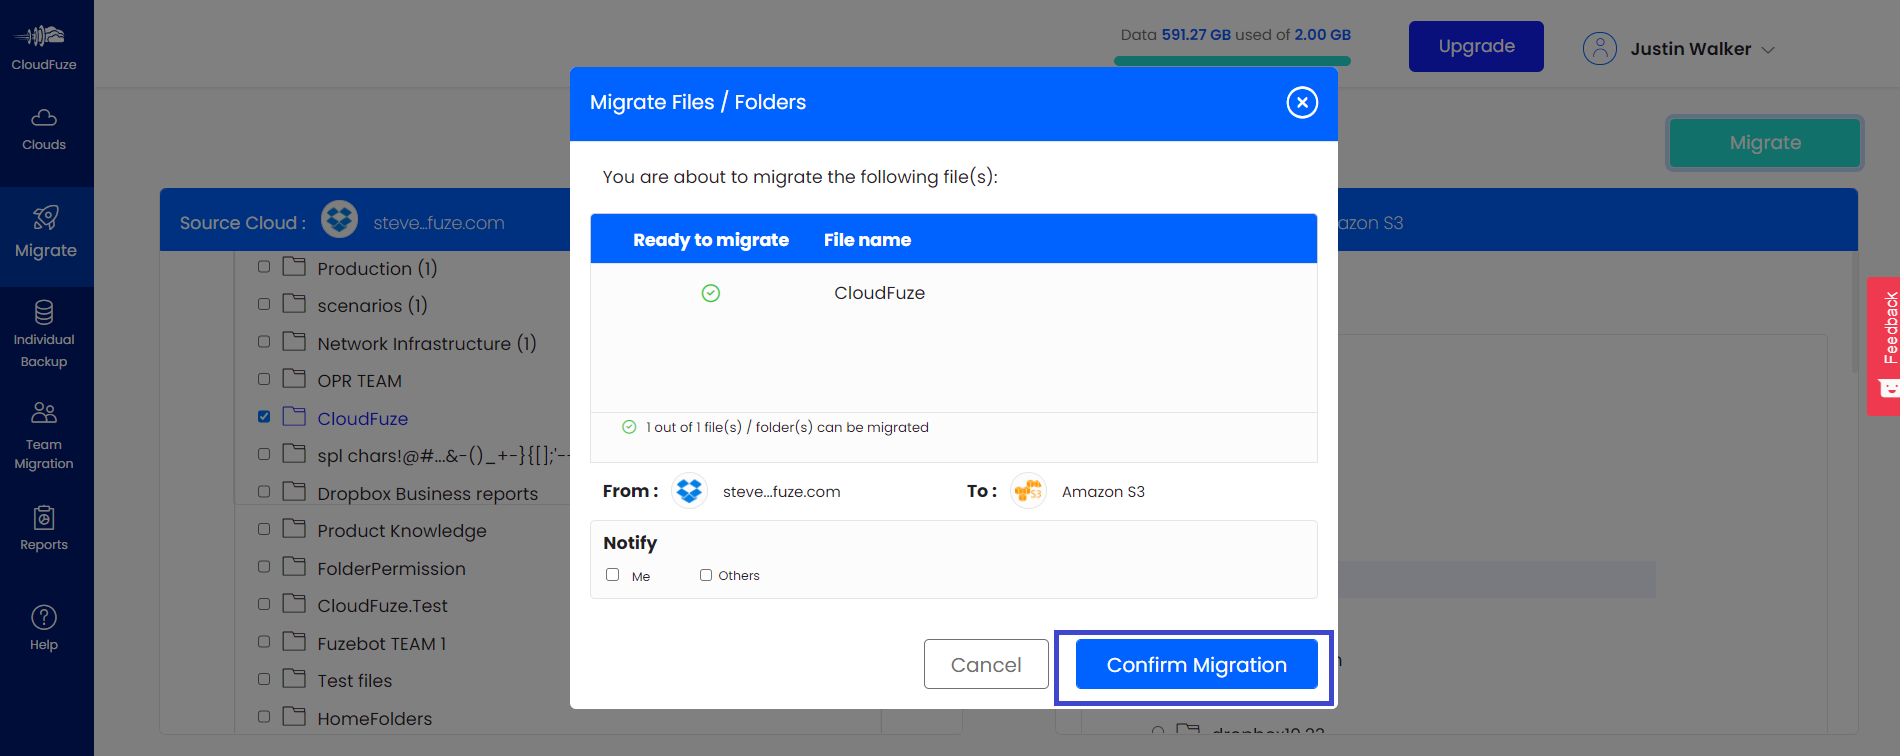
Step 9: Preview and Confirm Migration
Preview the migration settings and click on the Confirm Migration button.

Step 10: In-Progress
When the migration is in progress, CloudFuze displays the status as In-Progress.

Step 11: Migration is Completed
When a migration is completed, the status will show as Processed. A migration report then can be downloaded by clicking on the download icon.


Leave A Comment