Best Practices for Managing Files in Microsoft Teams

Microsoft Teams is completely different from that Slack when it comes to storing and managing files. Slack only allows you to share files in a workspace. On the other hand, Microsoft Teams allows you to manage files directly from the file tab or the SharePoint site.
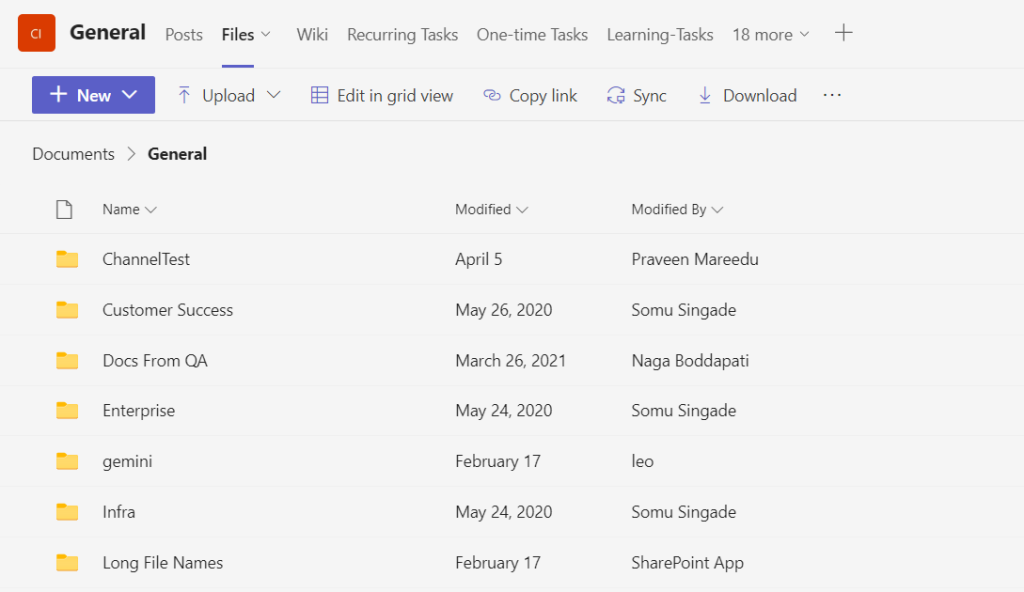
If you have migrated from Slack to Microsoft Teams, you must know that Microsoft Teams provides each team with its SharePoint site, which serves as a document library. The files will be stored or shared in different locations within site depending on where it is stored in Microsoft Teams.
- Standard Channels
Each standard channel in Microsoft Teams has its folder in the team’s SharePoint library. Each time a member uploads a file in the Files tab of a standard channel, the file will automatically appear in the channel’s folder.
- Private Channels
Private channels work a bit differently. Unlike the original team’s site collection, each private channel creates its own.
- Shared Channels
You don’t have to invite external users to the entire team to collaborate with them using shared channels. Shared channels in SharePoint also have their site collection, like private channels.
- Chats
The user files are stored in a Microsoft Teams Chat Files folder in OneDrive for Business when they share directly through private chats.
File Management in Microsoft Teams
File management in Teams can be tricky. However, following the best practices Microsoft Teams can help you organize and manage your files effectively.
1. Use Clear and Specific Channel Names
SharePoint is where all team-related files are kept. A new SharePoint team site is automatically created each time you create a team in Microsoft Teams. Besides, SharePoint automatically creates a new document library for each channel you create.
The channel name serves as the name of the library. To avoid confusion, be sure to pick relevant channel names.
2. Create Folders Inside Each Channel
It’s best to create folders inside each channel and upload all files in those folders for better file management in Microsoft Teams. A file you directly attach to a chat will be kept in the team’s SharePoint site’s channel folder. Although moving files to the appropriate folders is always an option, it could take some time.
Additionally, it can quickly become out of control and become difficult to manage if you save hundreds or even thousands of files in this manner. You can prevent file loss and duplication by separating your files into different folders.

3. Use File Filters
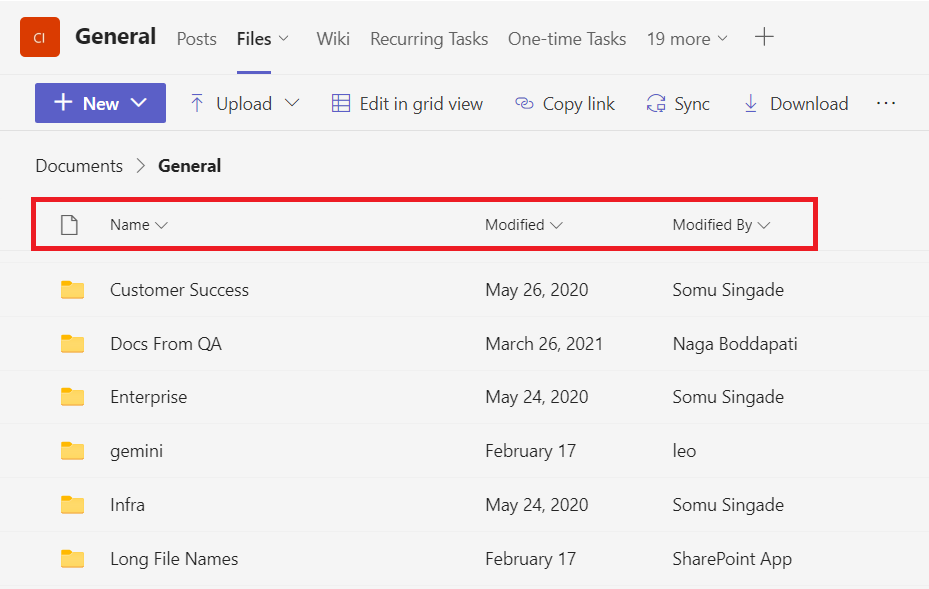
You can list your files in a certain order by applying the filters available in Microsoft Teams. You may, for instance, list the files sequentially. Alternatively, you can sort them based on when and who modified them.

4. Use Additional Document Libraries
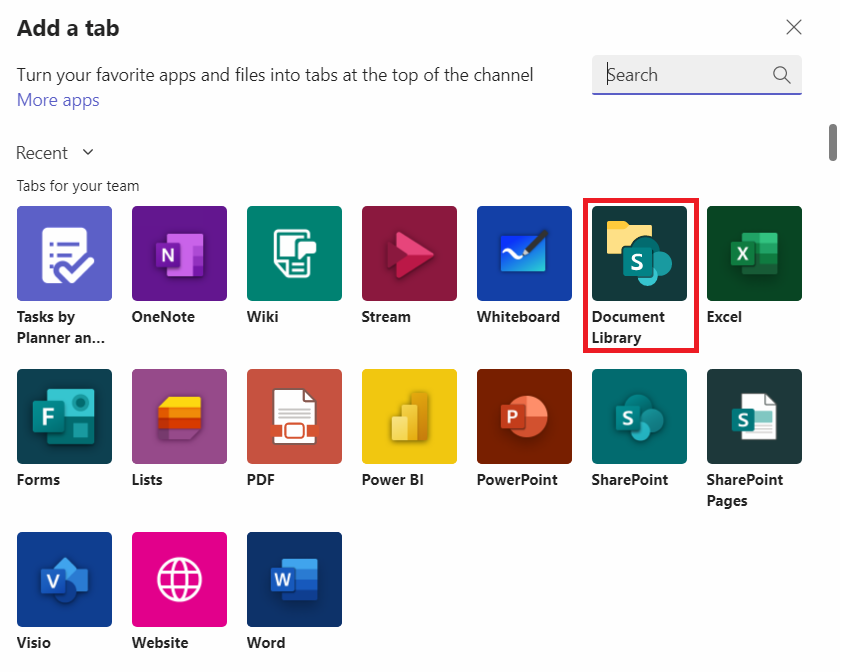
You can create a document library to store all the finalized documents in addition to a SharePoint site for each team in your organization. This enables your employees to access all your key data in a centralized location easily.

It will be easier to search for and share documents if each work process has its library. It will make it possible to keep all the documents related to a specific topic in one place.
5. Pin Files to the Top
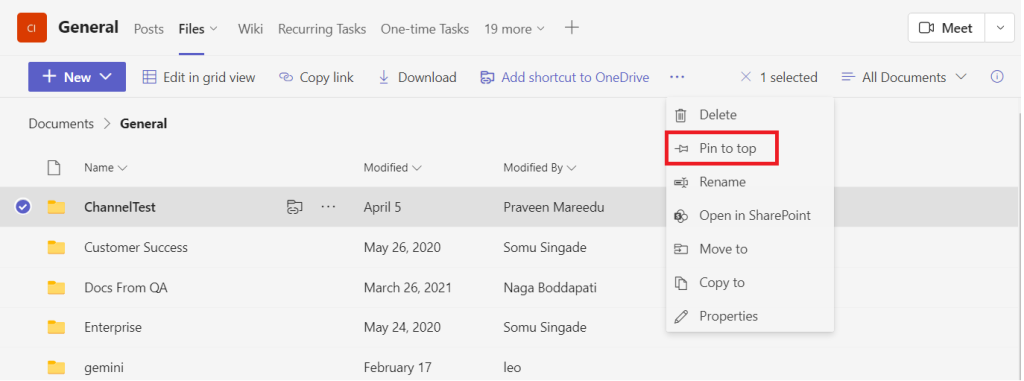
You can also pin files to the top of the list. Very important files can be marked using this feature. You will know exactly where the file is and easily access it by doing so.


Leave A Comment