CloudFuze has simplified the complexity of managing multiple Box accounts. With the CloudFuze move feature, one can now move/copy/transfer files between Box accounts and also can move files between Box and any other cloud storage service.
Below are a few steps that illustrate how data can be migrated between two Dropbox accounts easily and quickly.
Step 1: Log in to CloudFuze
Go to webapp.cloudfuze.com and enter your login credentials to go to the dashboard. If you don’t have an account, you create one there using your email, Gmail, or an Office 365 account.

Step 2: Add Your Box Account to CloudFuze
Click on the Box logo that you see in the list of personal clouds. A popup will then open where you need to enter the Box login details.

Step 3: Provide Box Access to CloudFuze
After entering your Box account details, click on the Grant Access to Box button.

Step 4: Add Box Account Again
Click on the Box logo and enter the login details of your second Box account. Please keep in mind that you need to add both Box accounts of yours.

Step 5: Complete the Cloud Addition Process
Click on the Provide Access to Box button to complete it.

Step 6: Verify Whether Clouds Added Successfully
Go to the Manage Clouds tab in the Clouds section by clicking on the Clouds icon in the navigational menu. Both Box accounts should be visible here if they are properly added.

Step 7: Start the Migration
Click on the Migrate button to initiate the migration process.

Step 8: Select Source and Destination Cloud Accounts
Choose the Box account that has the data you want to migrate as the source account. Select the other Box account as the destination.

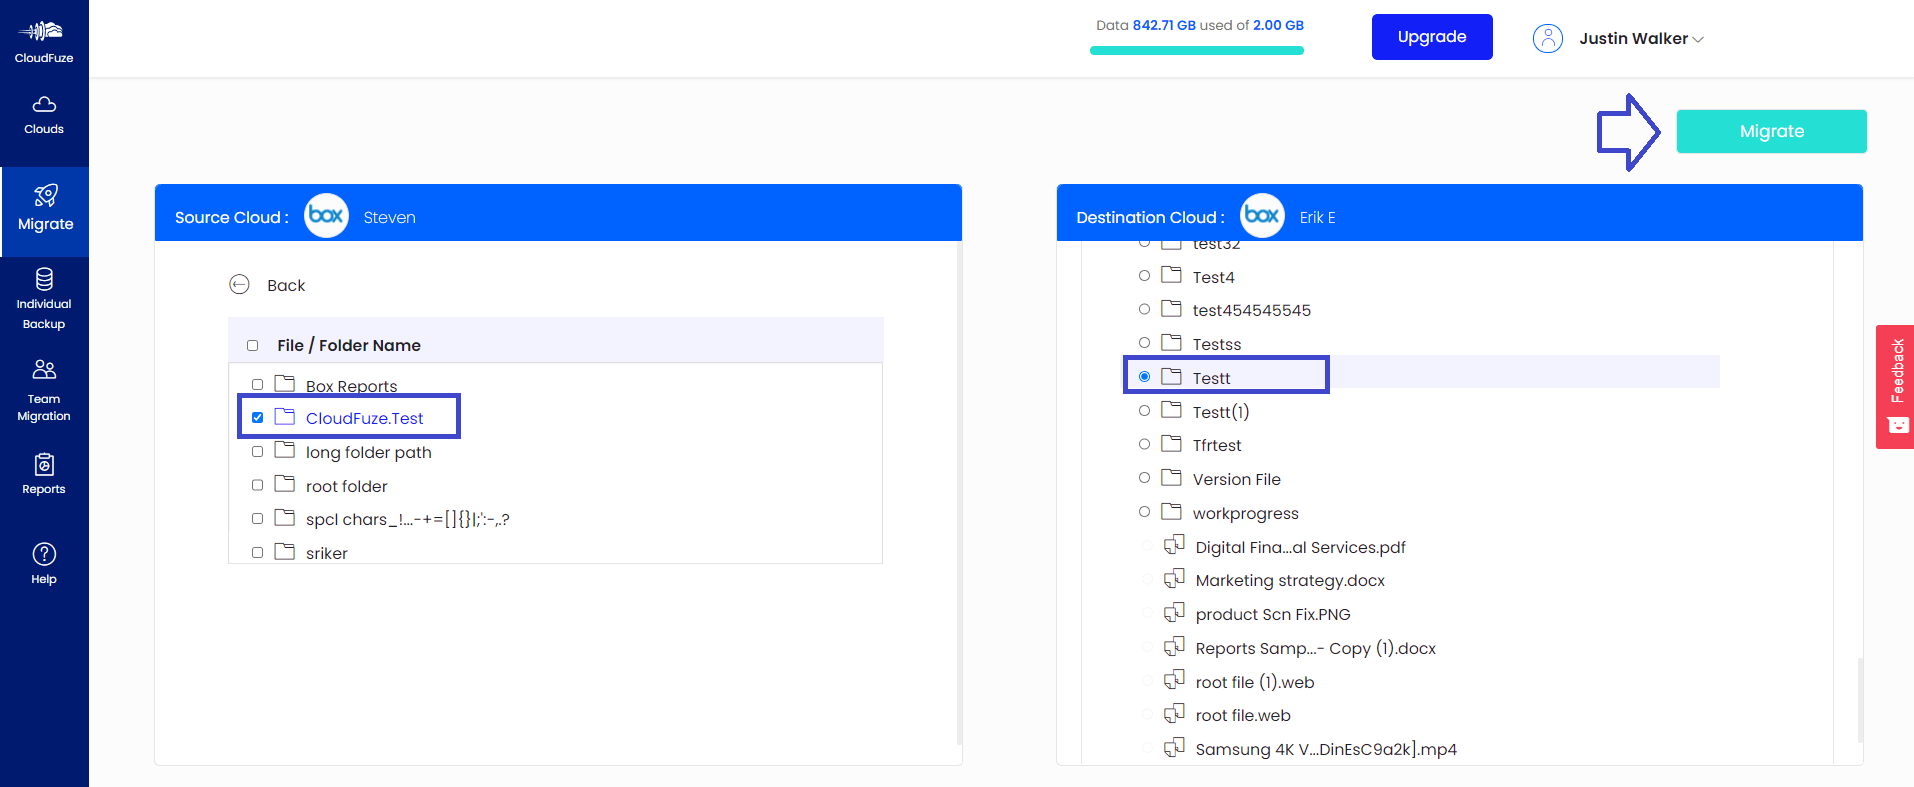
Step 9: Select Files and Folders to Migrate
Choose the files or folders that you wish to migrate. You can migrate all the files and folders in the root or transfer a few, based on your needs.

Step 10: Preview and Confirm the Migration
Click on the Confirm Migration button once everything looks good.

Step 11: Data Migration Is in Progress
The status will be displayed as In-Progress during the file transfer period.

Step 12: Migration Has Been Completed
Once all the files are migrated, CloudFuze then displays the status as Processed. It means the migration has been completed successfully.


Leave A Comment