FTP is the standard protocol user to transfer files from client-server to a computer network and it is the most traditional way of storing files online and accessing data remotely with the access of the internet, it’s one of the ways that inspired cloud storage technology. A standard login procedure can be created to login to the FTP.
Google Drive is the easy to access app from a web browser, as its suite of apps like Google sheets, docs, and PowerPoints enabled not only accessing the files stored in the cloud but also can make changes instantly, this feature has been adopted by a large number of computer professionals worldwide.
If you are also planning to migrate to Google Drive, please refer to this Dropbox to GoogleDrive migration guide.
Considering ease of accessing the data many users prefer to migrate files from FTP to OneDrive.
Step 1: Create a CloudFuze Account
Go to webapp.cloudfuze.com and create an account using your email ID, Google ID, or Office 365 account. If you already have a CloudFuze account, login to the portal using your login credentials.

Step 2: Add and Authorize FTP
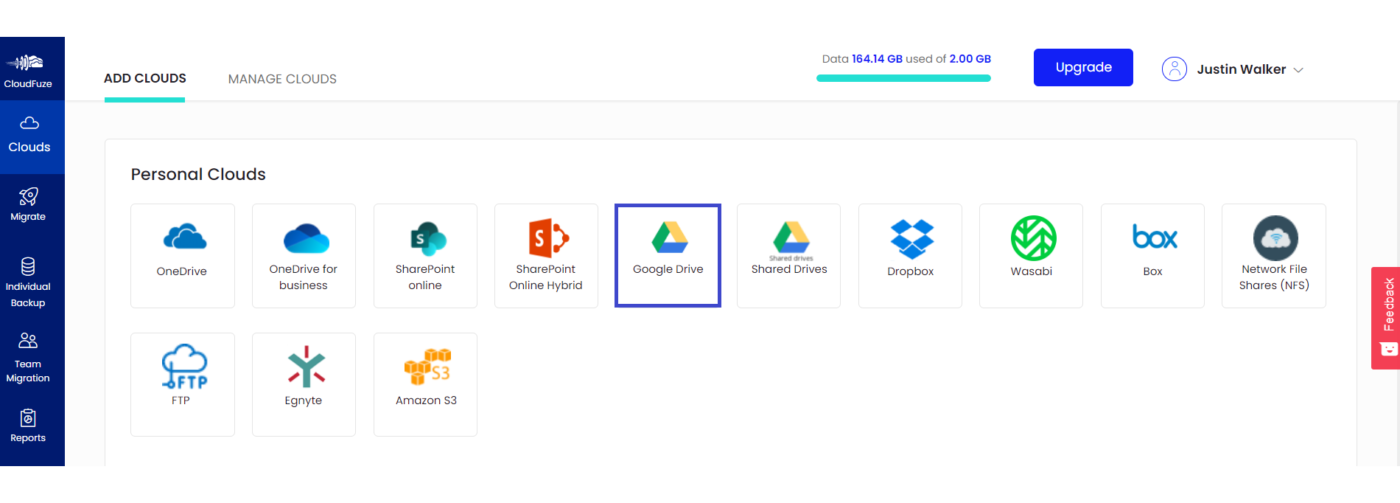
Search for the FTP logo listed under the personal clouds section and click on it.

Step 3: Enter FTP Access Credentials
When requested, enter the FTP account login/access information in the popup window. Click on the Add button to authorize the account.

Step 4: Add Google Drive
Similarly, click on the Google Drive logo. Note that you should only click the Google Drive logo listed under the personal clouds since it is not a business migration.

Step 5: Authorize Google Drive
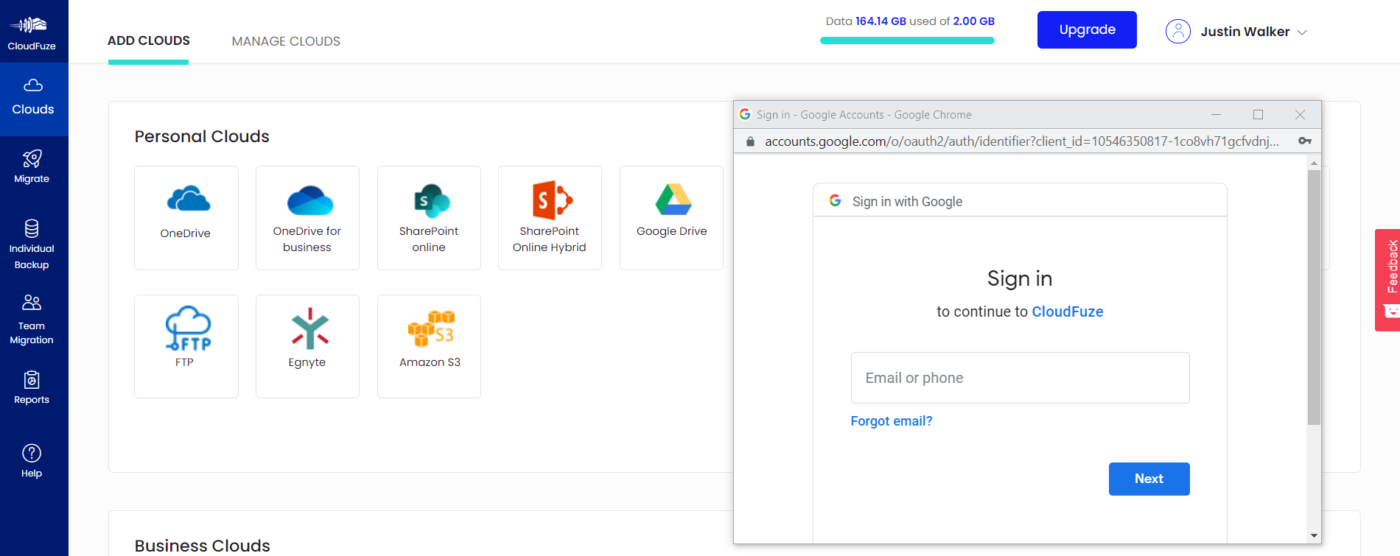
Enter you Google Drive credentials in the pop-up window

Step 6: Grant Permissions
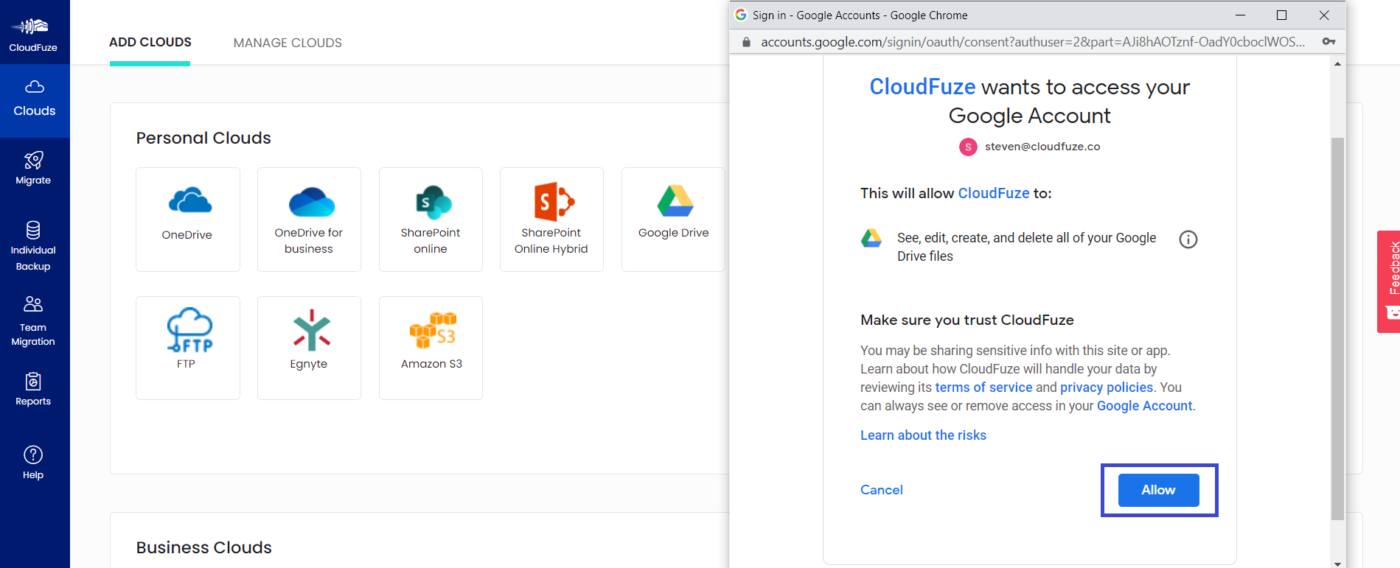
Click on the Allow button to grant permissions to CloudFuze.

Step 7: Verify Cloud Addition
First, click on the Clouds icon that you can see in the menu on the left. Once done, now click on the Manage Clouds tab. You should be able to see both clouds added here.

Step 8: Start the Migration
Click on the Migration icon in the left-hand side menu bar.

Step 9: Select Source and Destination Clouds
Select FTP as the Source and Google Drive as the destination cloud.

Step 10: Select Files to be Migrated
CloudFuze allows you to transfer all your files or a few selected ones based on your migration needs. Choose what you want to migrate.

Step 11: Preview and Confirm Migration
Check your migration preferences and click on the Confirm Migration button.

Step 12: Migration Is In Progress
During the file transfer, CloudFuze displays the status as In-Progress. You can cancel the migration anytime during the transfer period if you wish to. With that said, you will not be able to reverse or undo the content that is already migrated.

Step 13: Migration Is Completed
The status “Processed” indicates that the migration has been completed. You can download the migration report by clicking on the download icon.


